
So grab some popcorn and a comfy seat for Bear Claws 3: The Viking Uprising
If At Second You Don't Succeed, Try Something Else Entirely
While not a terribly impatient person, i have little tolerance for failure. It gnaws at me, like when you have one last clue in the crossword puzzle but just cannot for the life of you figure it out nor give up. I tend to obsess over puzzles until i figure them out, an affliction that spills over into a lot of the rest of my life in ways that can be both bane and benefit. Why this otherwise pervasive trait never applied to my piano playing i now find to be a curious personal tragedy.
After BC2, i no longer wanted to wait weeks to recover; i wanted the answer immediately. Not getting danish pastry right the first time was a kitchen blunder, a tiny disappointment to be shrugged off with a gallic c'est la vie. Failing the second time, however, especially after such thought and analysis had gone into it, became an existential flaw - two advanced degrees but i can't figure out how to make a f***ing bear claw - i was a disgrace. Also, if ever discovered by my mother, i would hear about how curious this was as she has no trouble making pastry from scratch. And you know what those conversations are like.
So i regrouped, reanalyzed, and decided the fault lay with Beranbaum: Pie and Pastry Bible, my ass! I'd already had a miserable experience with her bûche de noël recipe, which i only used because i forgot to bring my tried and true Susan Purdy recipes with me to Las Vegas (and because my mother's announcement that she suddenly dislikes hazelnuts was an unexpected curveball thrown mere minutes before my labors were to begin). So, i went back to the drawing board and searched high and low for a new and better danish recipe. I have a fabulous baking book from Leslie Mackie's fabulous Macrina Bakery (do not miss it if you're ever in Seattle) whose whose recipes are largely excellent and who has worked quite a bit with the likes of Julia Child. The Macrina Bakery and Café Cookbook should be on everyone's shelf. I analyzed her version of danish dough, which also involves making a butter square and enveloping it with dough. I compared her version to Beranbaum's, which were similar in terms of ingredients, but two things struck me: Mackie noted that (1) dough and butter square must be kept at the same temperature (cold), because if the butter gets too warm, it will start to seep from the dough and (2) proofing was to be done at room temperature. I deduced that the latter process was due to the former axiom, so decided that the fundamental error was the whole proofing-at-an-elevated-temperature defied the cardinal rule of pastry-making that Thou Shalt Keep the Dough Cold.
I was about to embark upon yet another butter block tour when i gazed upon my fabulous Christmas gift - Dorie Greenspan's Around My French Table (thanks, cuz!), resting on the counter where i have been drooling over its gorgeous photos and perfect recipes. Dorie is hands down one of the best cooks - and bakers - out there; at least from the "home cook" perspective (i'll leave the post about chefs (i.e., men with toques) vs. home cooks (i.e., women, with jobs besides slaving over the stove) for another time). So, long story short, an internet search led me to the recipe in Baking with Julia (which Dorie edited) that actually came from Beatrice Ojakangas, a Scandinavian chef who is a James Beard Hall of Famer. That was a combination which sounded hard to surpass, especially once i realized her recipe would take half the time to make. I noticed that here again, there was an emphasis on cold dough and room temperature proofing. To be extra sure, i did even more internet research and found several people who had had success with the recipe and technique outlined in The Art & Soul of Baking, which is another excellent book with details not only on the how of baking, but the why. This book uses the butter block method, but also stresses that the dough must be kept cold and recommends proofing in a cool kitchen so that the butter does not seep from the dough. In the end, Ojankagas' quick danish dough recipe won me over with Dorie's advice that "longer" doesn't always mean "better." Freshly returned from a trip to NYC, i had an antsy i-don't-have-time-for-this-nonsense hangover, and the butter block got chucked in favor of the food processor.
Building a Better Bear Claw
What makes pastry flaky? It's a common question, the answer to which is what often ends up dividing the bakers from the cooks, because cooking is mostly heart and a little science and baking is mostly science and a little heart. You can't wing baking - it's organic chemistry and if you cast your mind back to those experiments, you might remember how everything pretty much had to be exact or it would fail and the more complicated the experiment, the less margin for error.
Pastry texture results from a process called lamination, i.e., creating fine layers of butter and dough. This is easily visualized with the butter block method - encasing the butter, then folding it, flattening it, folding it, and flattening it, until there are hundreds of layers of butter and dough. The liquids and flour of the dough combine to make strands of gluten (the structure of the pastry), while the butter acts as a placeholder for pockets of air, which ultimately develop in the oven when the butter melts away and the steam generated during the melting process pushes out the surrounding dough. So when you look at a cross-section of pastry and notice the fine layers, imagine if you compressed them all back down and where there were once holes, there is now butter, and voilà, you're back to the pre-baked dough. Capiche?
One of the interesting paradoxes (paradoces? paradoxi?) of pastry making - and this includes pie crusts, which are pastry - is that the more you handle or overwork the dough, the more you risk making it gummy. Keeping the butter cold and not touching the dough with your hands are two key tips for success; not overworking it is another - not enough layers and it's not flaky but too many and it's gluey and tough. This is why the food processor is not to be dissed, but why you need to resist the urge to watch it form a dough ball and spin it around hundreds of times.
Another question you may have is What is the difference between croissants and danish? and the answer is the incredible, edible egg, which is present in the latter but not the former, and explains why danish are yellower, richer, and more cakelike than their croissant cousins.
So now you've had your pastry primer; it's time to get to work.
D's Grizzly Paws (because they're so much better than run o' the mill bear claws)
First, the dough (adapted from Ojankagas/Child/Greenspan)

You will need:
1/4 c. warm water (105-115* F.)
2.5 tsp. active dry yeast
1/2 c. milk, at room temp
1 egg, at room temp
1/4 c. sugar
1 tsp. salt
1/2 tsp. ground cardamom
2.5 c. unbleached all purpose flour
1/2 lb (2 sticks) of very cold unsalted butter
Note: This is a basic dough that can be used for all kinds of shapes of danish. If you're going to do a form with a jam or cream cheese filling, add 1 Tbsp freshly grated orange zest.
2) Put the flour in the work bowl of a food processor fitted with the metal blade. Cut the butter into 1/4-inch-thick slices and drop them onto the flour.


5) Cover the bowl and refrigerate the dough overnight, or up to 4 days if you're a really advanced planner. Pat yourself on the back for saving yourself hours of time.
6) Lightly flour a cool work surface. Ideally, marble or granite, but if you're poor, like me, stick your silpat mat in the freezer for a few minutes. Turn dough onto surface and dust with flour. Pat dough into a rough square, then roll into a 16" square.
 |
| See all those butter chunks? That's good. |


7) Fold dough in thirds, like a business letter, and turn so that the closed fold is to your left. Congrats, you have just made your first "turn."

If dough is still nice and cold, continue, otherwise, put it covered in the refrigerator for 10-20 minutes. I do this by just folding up my mat and sticking it in with the rolling pin atop. The colder everything is (the dough, the pin, the room, your hands), the better. Rechill dough every time you start to pick up the slightest swipe of butter on your pin.
8) Roll dough out again into a 10" x 24" rectangle, do the business letter fold, then turn (if necessary) so the closed fold is on your left. You've completed your second "turn." (Notice how the butter is beginning to layer?)
8) Roll dough out again into a 10" x 24" rectangle, do the business letter fold, then turn (if necessary) so the closed fold is on your left. You've completed your second "turn." (Notice how the butter is beginning to layer?)


9) Chill if necessary and roll dough into a 20" square. Do the business letter folding and turn so that the closed end faces to your left and roll out into a 10" x 24" rectangle. (Voilà, the third turn!) Fold your last business letter. Cover dough and put in refrigerator for at least 30 minutes or up to 2 days.


 |
| Ta da! Your dough is ready. If you look closely, you should see fine layers of butter throughout the dough. |
This is enough dough for a dozen bear claws or 6 bear claws and a danish braid. If you want to divide it, do so now. The rest can be put in the freezer for up to a month - thaw in the refrigerator overnight before using.
Almond Filling
Another thing i learned is that the runnier the filling, the more likely it is to leak from the claws. So i went for something more paste-like this time. The cinnamon and amaretto give it a really nice kick. Note - this recipe makes enough filling for 12 bear claws, but don't halve it if you're doing 6. Just stick the remainder in the freezer and use it later.
80 g (appx 4 Tbsp) Almond Paste
85 g blanched almonds
1/2 tsp. cinnamon
2 Tbsp sugar
1 Tbsp brown sugar
3 Tbsp amaretto
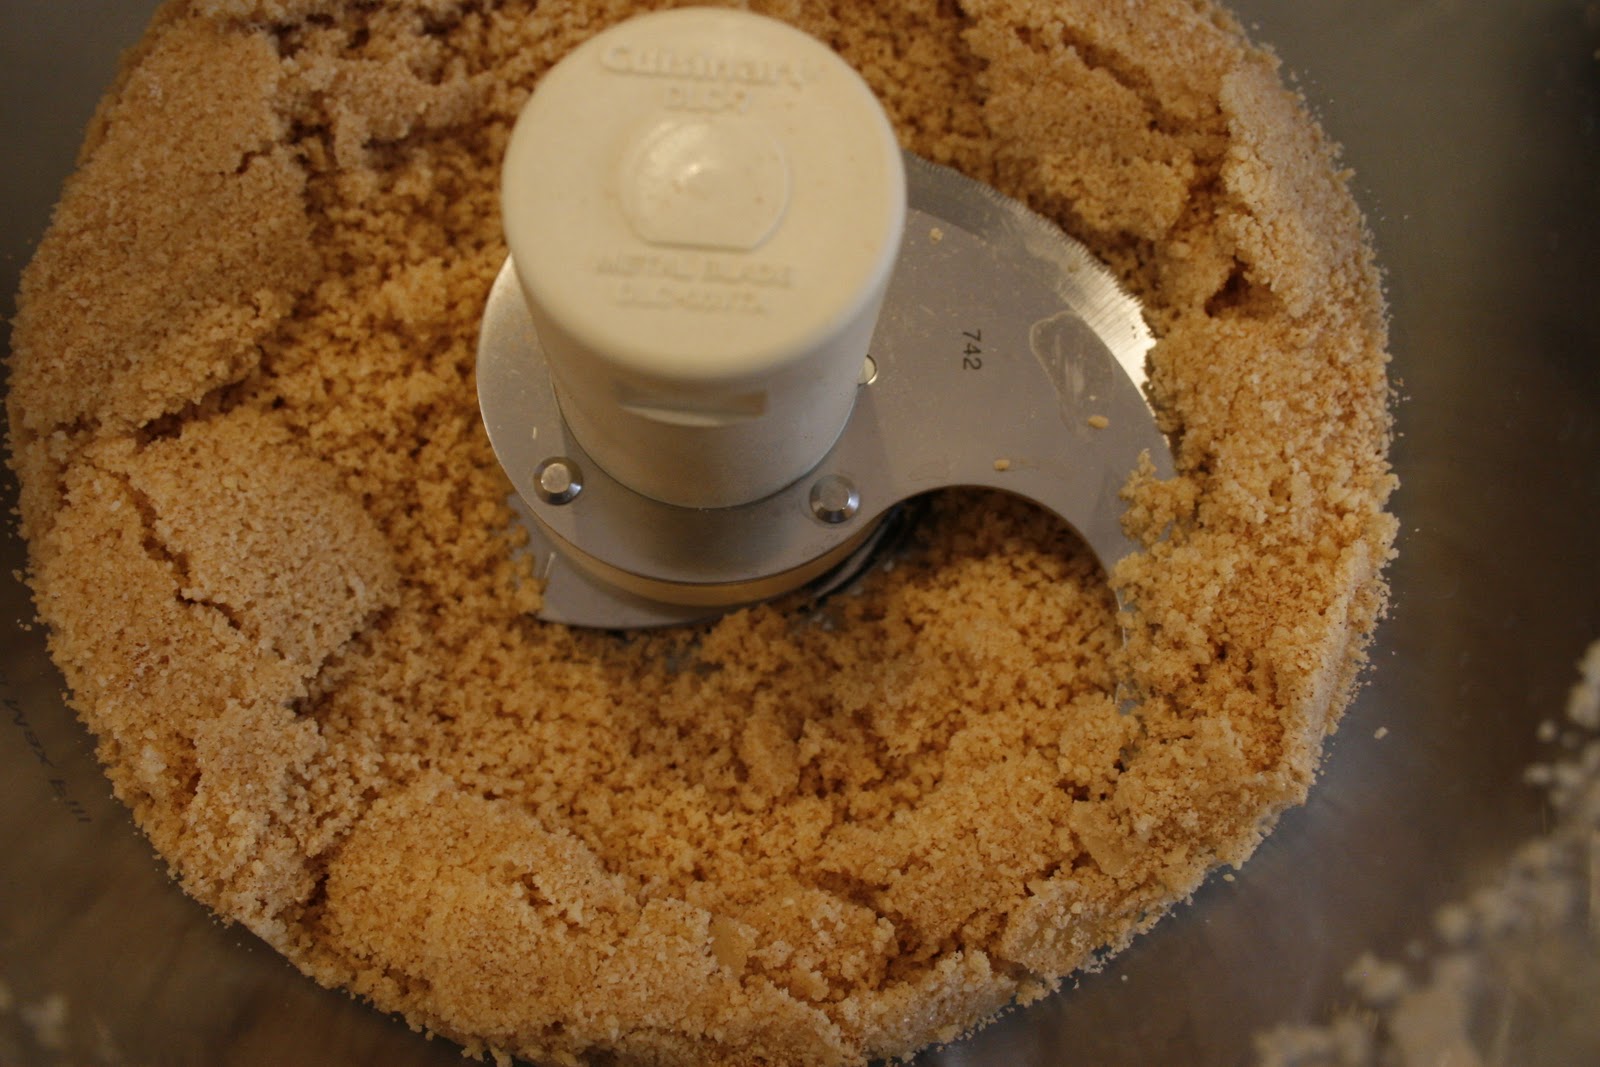
1) Put almonds, cinnamon, and both sugars in the bowl of a food processor with a metal blade and process until nuts are finely ground.


3) Drizzle amaretto in and run until mixture becomes paste-like. If necessary, add some cream or a little softened butter to thin. You don't want the mixture to be dry or too firm, but you don't want it to be runny. You're looking for something on the firm side of creamy or, if you like your filling creamier, then definitely add the butter.

Making the claws
A key point i also learned from my experimentation is that the thickness of the dough, rather than the exact size of the pastry square, is what counts. Every recipe kept saying roll the dough into a x by x" square then cut into x number of 4 x 4" squares. But several recipes stressed that the dough should be 1/4" thick. So this is the deal: (1) roll the dough that you have made into a square or a rectangle that is about 1/4" (no less than 1/5") thick. I used half of the dough recipe above and put the rest in the freezer. When rolled to about 1/4", the half i used gave me a roughly 9 x 13" rectangle, which i divided into six 4ish" x 4ish" squares. So use your best judgment here, but you'll benefit from thicker pastry over thinner.


3) Brush squares of dough with water and fold dough over filling. Pinch edges all the way around to seal. You don't want to mush them, but you want to make sure they're sort of glued together.

4) Cut the "toes" by making several 1/3 to 1/2" incisions along folded edge of pastry, making sure not to cut past the area where the pastry is bound together, or the filling can leak.

5) Curve the pastries into the "paw" shape and put on a parchment-lined cookie sheet.

6) Cover sheet lightly with plastic wrap (you don't really want it touching the dough all that much) and set aside to proof at room temperature (hopefully no more than about 72 degrees) for 1-2 hours, until pastries have roughly doubled in size and feel marshmallowy to the touch like so:
 |
| Look Ma! No leaking cesspool of butter/filling!! |
7) Put pastries in refrigerator to chill for 20-30 minutes.
8) Preheat oven to 400* F and make sure oven is hot for 10 minutes before baking. Remove pastries from refrigerator and brush with egg wash (1 egg beaten thoroughly with 1 Tbsp milk or water). Sprinkle with slivered almonds.

9) Bake claws for 12-15 minutes, or until deep golden brown. Let rest a minute, then place on cooling rack.

10) While claws are cooling, whisk together glaze of 1/2 c. powdered sugar, 2 Tbsp heavy cream, and 1/4 tsp. dark rum (or vanilla) to a thick but runny consistency, adding more rum or cream if necessary.
11) Once pastries have cooled, drizzle with glaze (from a spoon, or from a sandwich bag with a corner cut off).

12) Brew a pot of chai. Relax. Take a deep breath. Cut into grizzly paw. See your success. *Bite into paw. Taste your victory; savor your success. Sip chai. Contemplate your journey. Repeat from * until claw is gone. You have reached baking nirvana.


No comments:
Post a Comment